Knowledge Base
Worldspawn And Skybox Simplified
A quick and easy tutorial on how to make your skybox and enter worldspawn values
Here is a quick and easy tutorial on how to make your skybox and enter worldspawn values
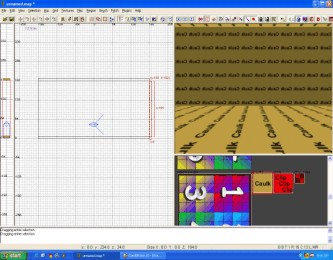
Start by making your skybox out of individual caulk brushes (CSG is EVIL)
Let's create our bottom brush
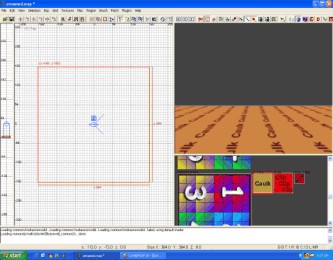
Then we press the spacebar to replicate the brush
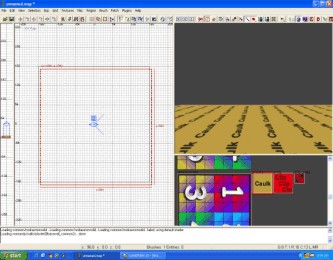
Now we need to move this brush up to be the top of our skybox. Ensure that your brushes are directly over top of one another. Press ctrl + tab to cycle to the side view and raise the top brush to the required height.
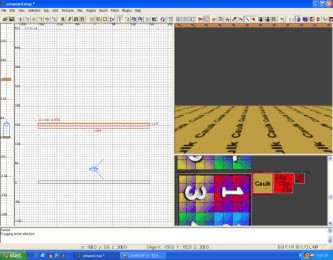
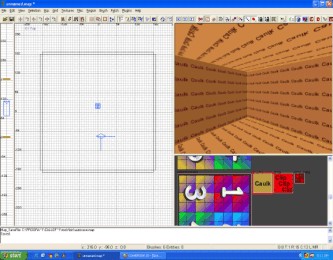
Now, we will create a side wall, dragging out a brush in the 2d window - only going from corner to corner. We then press the spacebar to replicate it and move it into position
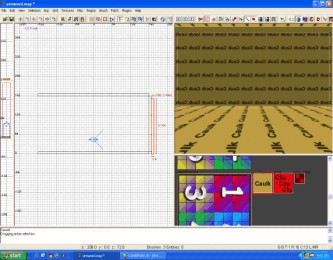
Press ctrl + tab again to cycle through the views and you will be able to draw in the missing wall, replicate it and move it into position
If you look in the 3d window, check the outside of your skybox - this is what it should look like

Now, in the 3d window we need to fly back inside our box, and pressing ctrl + shift + leftclick we are going to select only the inside faces of our skybox.
Not sure if you did it right? Fly back outside and have a peek

OK! Things are looking good - so let's give this some texture and worldspawn values. With the inside faces of your skybox selected press the "S" key. Enter sky/mp_carentan in the texture line (the top one). This is the texture that we are using in the tutorial, but there are a multitude out there to choose from (I will give you the link at the end of the tutorial)
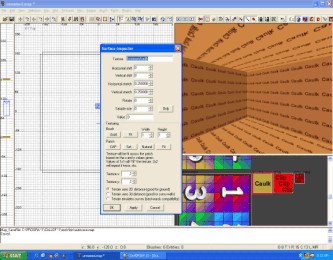
Now, it will look like this (some of you haven't extracted the files from the game into Radiant - and you may get a sky that looks all red in Radiant...don't worry about it - in game they will look just fine)
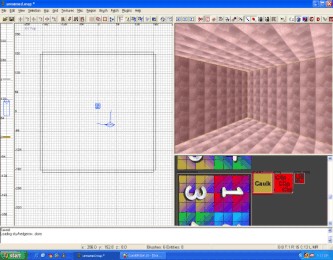
Now, with the inside faces still selected we need to press the "N" key to bring up the entity editor. This is where we will enter the keys and values of our world.
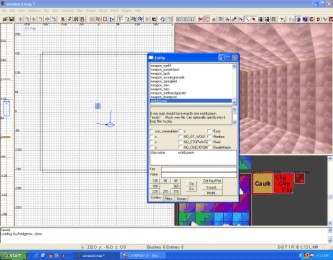
The list of all the worldspawn settings for the stock maps are HERE

Remember that, in the list from the link, the first "item" is the key and the second "item" is the value. You need to press enter after each key/value pair to write them into your map.
StrYdeR